BareMetal-C
Testing everything:
This guide ensures that you install everything correctly and is ready for class.
0. Prerequisites
You must have installed the following:
1. Build test code
-
Run
VS Code. Check that you are at the Explorer (1) and you see✅ BareMetal-C 🤖.If you don’t, click
Fileand selectOpen Workspace from File...and choosestudent.code-workspace.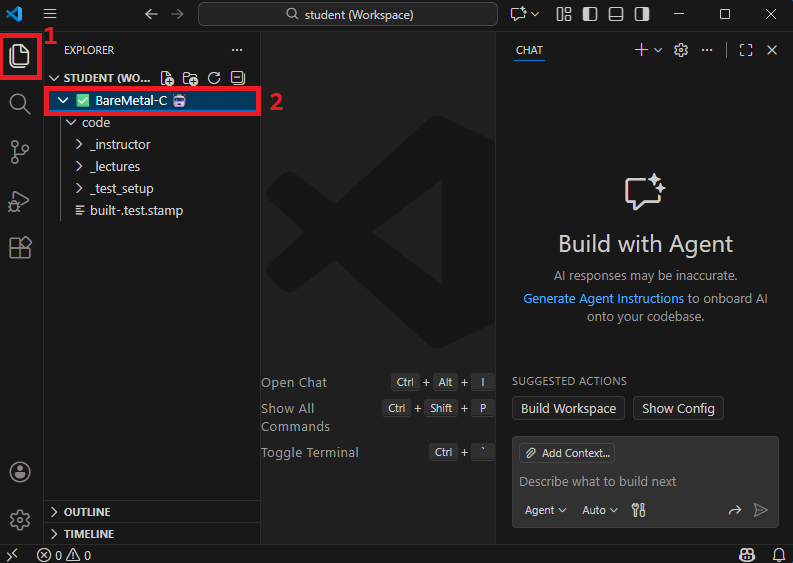
IMPORTANT: Things won’t work if you don’t see
✅ BareMetal-C 🤖(2). Double-check! -
Go to folder
_test_setupand right click. ChooseBareMetal-CandBuild BareMetal-C Project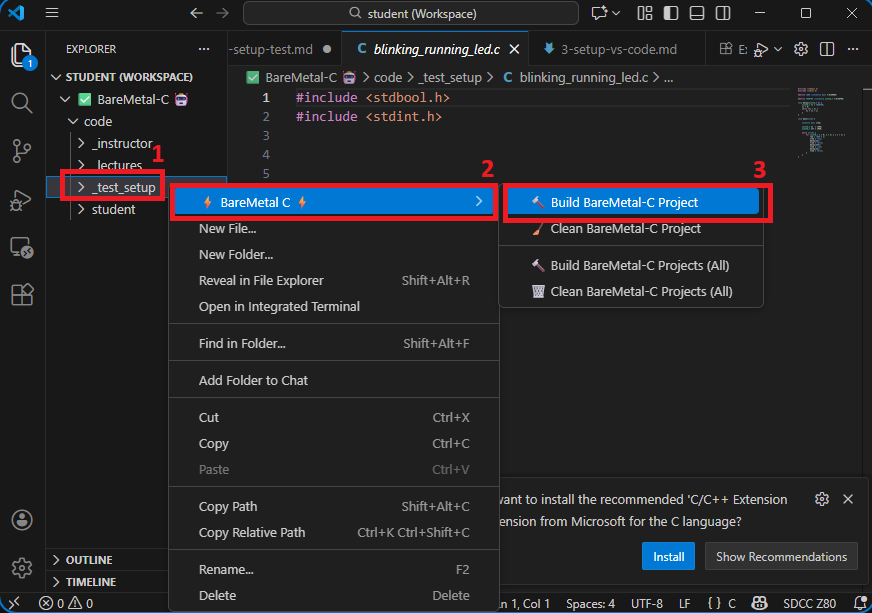
-
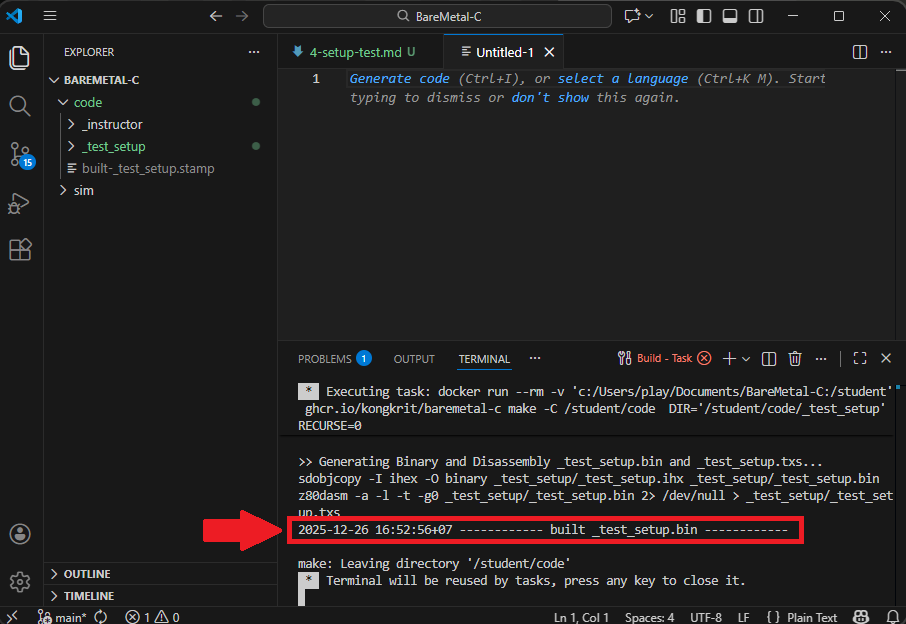
The project should be built, as seen below by
YYYY-MM-DD HH_MM_SS +ZZZZ ----- built _test_setup.bin -----If not, check your tools and VS code setup.
2. Load test code into circuit:
-
Open
simulideand clickopen circuitin screenshot below: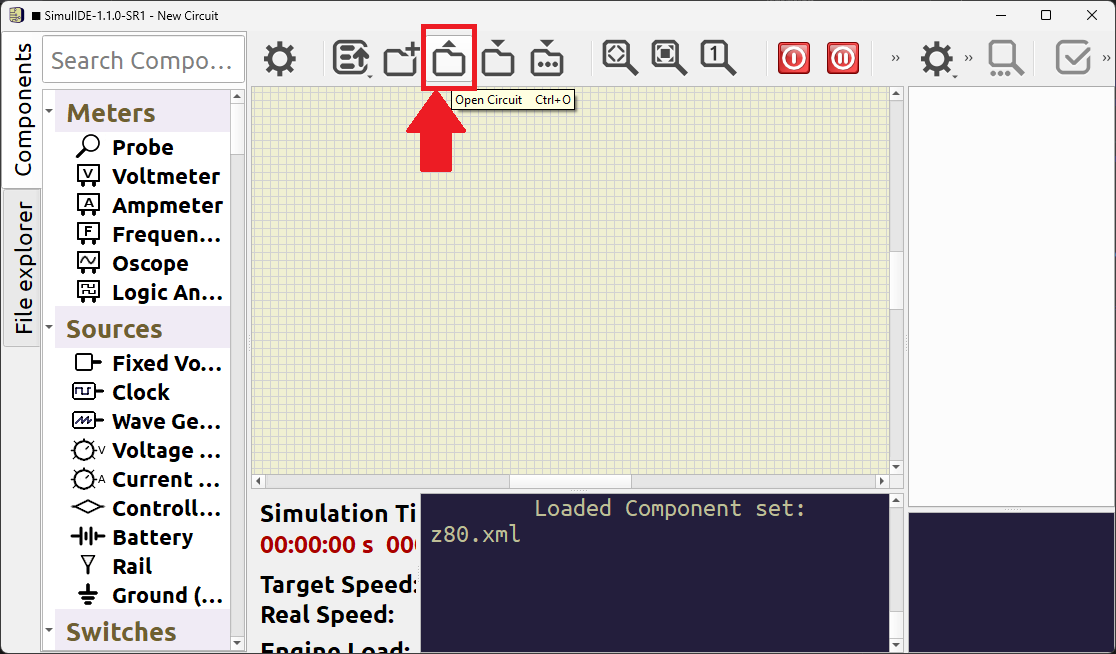
Go to
BareMetal-C/simfolder and choose05_freq_200kHz.sim1file. -
You should see the circuit below:
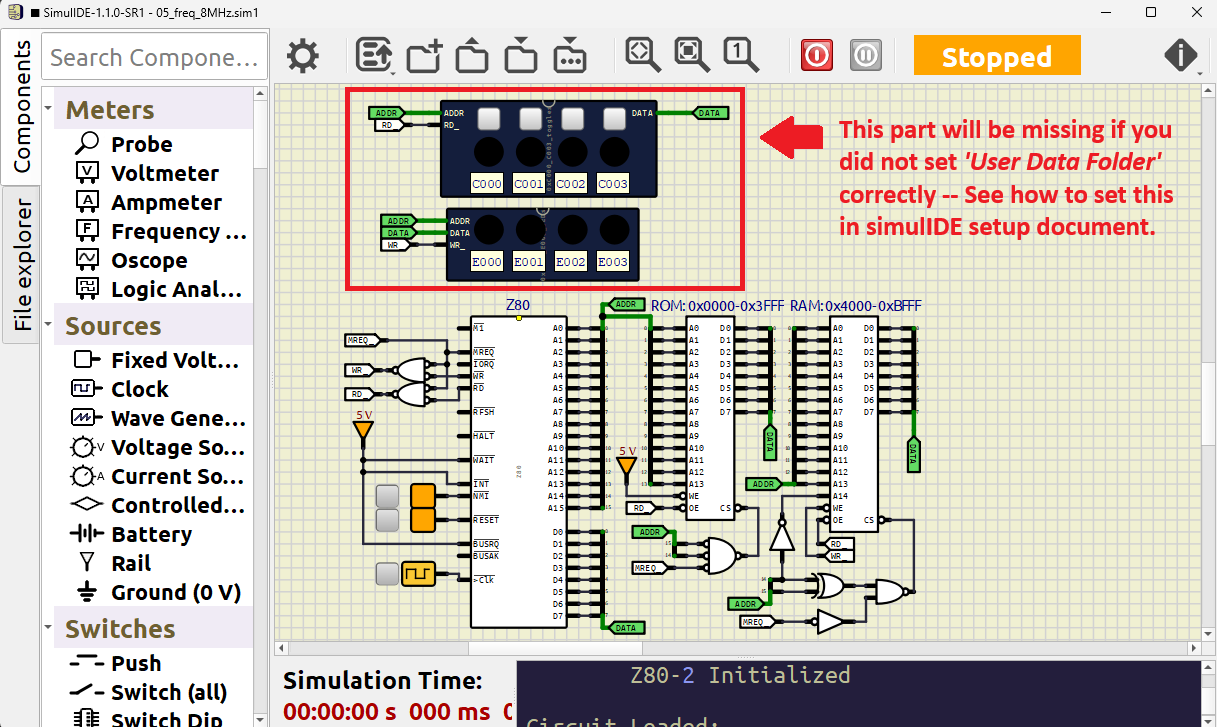
If the stuff in red rectangle box is missing, go back to set
User Data Folder. See instructions in setting up simulide. -
Right click on
ROM(1) and selectLoad dataas in screenshot below: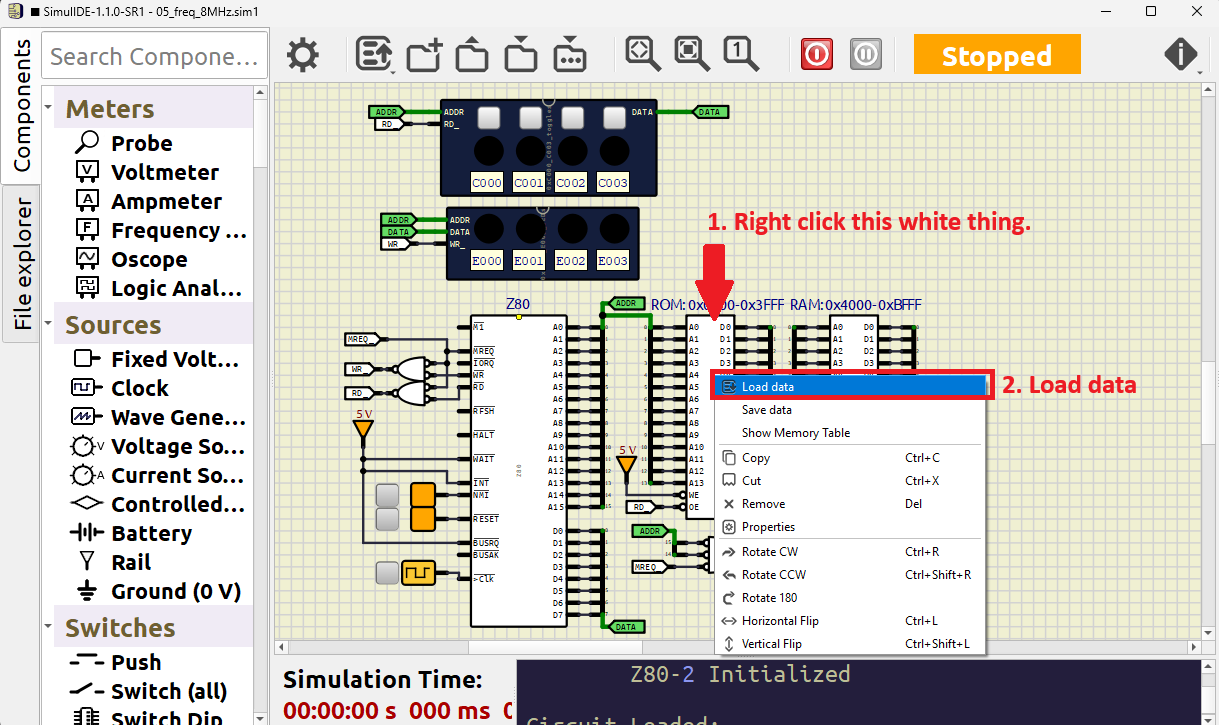
-
In folder
BareMetal-C/sim, choose file_test_setup.bin -
Click
Start/Stop Simulationand watch the blinking, running lights: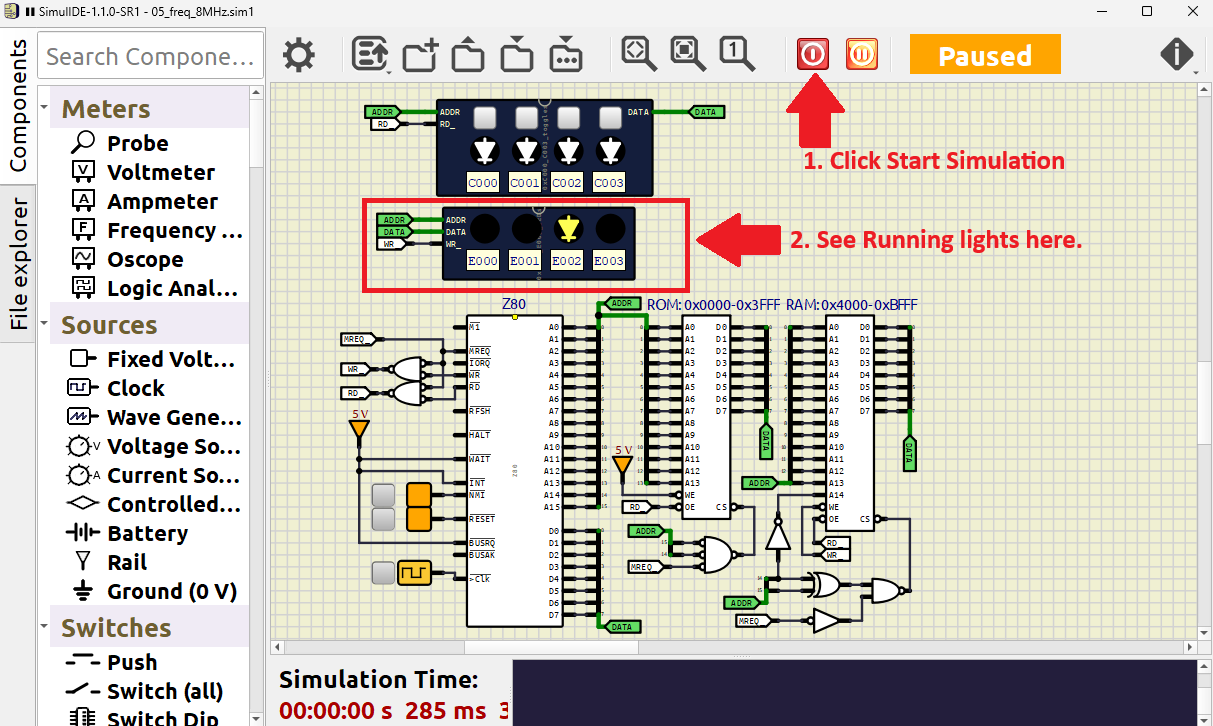
3. Troubleshooting
-
When starting VS Code, you must see
✅ BareMetal-C 🤖while in Explorer. -
If you don’t see
✅ BareMetal-C 🤖, clickFileand selectOpen Workspace from File...and choosestudent.code-workspace.- If you open another folder, even if it’s inside
BareMetal-C, likeBareMetal-C/code, the right click menu may not show up.
- If you open another folder, even if it’s inside
-
You must right click on a folder to see Build BareMetal-C Project.
- Right clicking on a file will not show
BareMetal-CBuild or Clean options.
- Right clicking on a file will not show
-
Click
Start/Stop Simulationto toggle simulation on and off. -
There are other things you can do with right click on a folder as well. There are
Build,Build All,Clean, andClean All.Feel free to right click them. They won’t destroy your project.
4. Wrap-up
If you got the running-blinking lights working, everything is working correctly.
- VS Code can communicate with the tools.
- The tools can compile and link code.
- The compiled code can be run on SimulIDE
Go back to home page